Subscribe to OW blog for an instantly better inbox
Oops! Something went wrong while submitting the form.

This is Part 2 of our series, The System Behind Better Content, co-authored by Content Design Hub. You can read Part 1 here.
A content spec is a structured, testable document that defines how content should look, sound, and behave across a product, built from real user research so your team (and your AI tools) have a shared set of rules to work from. In Part 1, we showed you how you can create a content spec and what it might look like, but having the spec is only half the work. A document sitting in a folder doesn't change anything on its own, it has to be operationalized to earn its place in your workflow.
A content spec only delivers value if the whole team uses it. The spec makes that possible. If it’s in the spec, anyone can check against it. That includes product managers writing acceptance criteria, engineers writing automated test cases, and QA testers checking final screens.
A spec needs to be embedded in the places where decisions happen. This could be your team’s:
The key is to keep the spec visible to your teammates and easy to reference wherever your team works, including the AI tools your team uses.
When AI tools generate content, they use their training data, but much of the publicly available digital content used to develop AI systems is disproportionately produced in Western and North American contexts. These perspectives differ from the lived experiences, cultural contexts, and perspectives of the users you are designing for.
Without a spec grounded in user research, AI writing tools can produce content that is grammatically correct and seemingly polished, but culturally misaligned.
For an Australian student finance app, that might look like:
These are not AI trivial errors. Nor are they hallucinations. AI got these terms correct, but for a different audience.
When content is not localized, you may not only alienate your users, but also create anxiety and erode trust. In a regulated industry like financial services, it can also create compliance risk.
A content spec is one of the most effective prompt engineering assets your team can have. Prompt engineering is the practice of writing precise and reusable instructions that guide AI tools to produce consistent and predictable outputs.
When you feed your spec rules into an AI prompt, you give the model the guardrails so it doesn’t fill in the blanks and default to its training data.
Role
You’re a content designer writing for a money management app aimed at Australian young people aged 18 to 24.
Context
Users may be managing money independently for the first time. They are familiar with informal language but need to learn formal financial terminology as part of using the app. Australian financial, tax, and welfare systems have specific terms that differ from other English-speaking countries.
Task
Write content for the app onboarding flow. Users will experience this flow when they sign up for the first time. The flow includes the welcome screen and account setup steps. It’s the first time a user will encounter key financial concepts like superannuation, HECS-HELP, and Centrelink payments. Each screen should introduce one concept at a time, explain it in plain English, and tell the user what action to take next.
Output
Screen-by-screen onboarding content, including headings, body copy, and button labels. Keep all sentences under 20 words. Each screen should have one heading, no more than 3 sentences of body copy, and one call-to-action.
Constraints
Use the content spec to guide your content decisions.
Use the acceptance criteria and user story to guide your deliverables.
Key rules include:
Validation
Before finalising any content, check it against the content spec. If a term does not appear in the approved list, flag it for review rather than substituting a synonym.
Confirmation
Before you draft the content, confirm you can:
With these prompt rules, your AI tool has a strong starting point and will give you a better first draft.
The spec also helps teams evaluate AI output consistently. Instead of asking, “Does this sound right?’, you may question, “Does this align with our rules?”
Courses like AI Prompt Engineering for Content Creators can be a useful way to learn how to write effective AI prompts grounded in content design principles.
A content spec is a living system that connects user research to design decisions, team workflows, and AI tools. It's like a muscle; the more you use it, the stronger it gets. The more you add to it, the more accurate, reliable, and valuable it becomes.
Here's the full spec cycle:
The content spec keeps your product human. It's rooted in research and reflects the context of your users; how they think, speak, and make sense of the world.
AI is now a standard part of content workflows. This means that the spec is no longer optional and is no longer just an engineering tool. Without a content spec, AI tools default to someone else's language, someone else's culture, and someone else's assumptions.
Product teams that invest in a content spec now are building a system that scales, learns, and most importantly, keeps the user at the centre of every decision.
Start with research. Build the spec. Keep your users in every decision.
Meet with us to learn how teams are using Optimal to transform interviews into insights and create content that truly connects.
This is Part 1 of our series, The System Behind Better Content, co-authored by Content Design Hub.
This piece is a collaboration between Optimal and Content Design Hub, exploring how a content specification, or “content spec”, grounded in user research can give your team and AI tools the guardrails they need to create appropriate, consistent, and user-centered content at scale. A content spec ensures your content is structured the way your users think, making it easier for them to find what they need, understand it, and take action.
Words and language are core to product design. Like any design decision, content needs a specification that gives your team—and your AI tools—the rules for creating consistent, user-centered content. This is known as a content spec.
A content spec is a structured document that defines how content should look, sound, and behave across a product.
There are 2 types of content specs:
Content spec: a structured, testable document that defines content rules, guidelines, templates and behaviours. It allows design teams to create repeatable content patterns that are consistent and can scale across different products and channels.
At a small scale, vague content guidance is manageable. You can run tests to validate your decisions, and you can make changes on the fly. However, when you’re working on products within a larger system, without a spec, your content won’t scale (with humans or AI).
How to identify that your content is not scalable:
Engineers solved this problem decades ago. Engineers work from specifications so that anyone on the team can build the same thing the same way. Content design needs to make the same shift.
A content spec is the missing piece in most content design systems. And, it all starts with user research. Let us walk you through how to build, use, and maintain it.
“Content is not a finishing touch; it’s the foundation of all digital products.” – Content Design Hub.
The content spec starts with research. Before you create a standard or pattern, you need to understand who your users are and what they need. That's the difference user research makes. It shows you how users really talk about their problems and needs, in their own words, so you can build the right solution and write content that sounds like your users.
Here’s an example:
An Australian bank is building a money management app for young people aged 18 to 24. The app will help users track things like part-time income, savings, debt and scholarships. It aims to improve financial literacy and planning.
Financial terminology is shaped by a country's legal, regulatory and tax systems. We can’t always simplify or eliminate those terms like “Low Income Tax Offset” (tax reduction) and “HECS-HELP” (student loan scheme), but the content should make them understandable and help users navigate confidently
Terms all need to appear in the right context and with the right explanation.
Before any content is written, the team runs discovery research. This is the input layer for the content spec. It will give your team the evidence base that everything else is built on.
The research mix might include:
Discovery research surfaces answers to four foundational questions that will guide your approach to content spec design:
While these findings are genuinely interesting, they are also the raw material of your content specs.
Once you have your research findings, the next step is to turn them into explicit, testable rules. This phase is where a content spec becomes distinct from a style guide.
A content spec is a working document that defines:
There is a differentiation between a content style guide and a content spec. Most content style guides are broad and aspirational, not specific. A style guide has good principles, but they are not necessarily rules AI can consistently apply or test against.
Here are two of the same rules, but expressed differently in a style guide and a content spec.
Our tone of voice is warm and helpful.
Our tone of voice is warm and helpful.
We:
Example:
Do not write: ‘Your application has been received and is pending review.’
Write: ‘We've got your application. We'll let you know within 2 business days.’
Exceptions:
This tone does not apply to terms and conditions, privacy policy, or legal disclosures. These sections must follow the language required by Australian financial services regulations and cannot be rewritten for style. Content that introduces this information must be written in plain language (words 2 syllables or less, with definitions of complex words).
A content spec is most useful when it lives in a format that both humans and AI can read. You have three options to either store or export as your content spec.
For product teams, writing in these formats may seem a bit alien. So that’s where you can draft your rules as a .txt file or in a Word Document and then export it as a Markdown file.
The format you give AI is important because AI reads plain text more reliably. A Word Document or PDF file has layers of code that can interfere with how AI tools parse (extract) content.
Adding research findings to a content spec removes the barrier between user research and product decision-making.
Instead of a product manager checking abstract rules, they can trace a rule back to the user insight that generated it. This approach gives everyone in a team more context into how and why decisions are made. And of course, all these decisions are tied back to the user.
You can easily create a content spec using MCP and your working document. Connect your research repository to your preferred AI tool (such as Claude, ChatGPT, or Cursor) and use MCP to pull relevant insights and evidence directly from your research. From there, build a structured content spec that can live in different workspaces and tools for easy reference.
Participants aged 18 to 25 were given 30 cards covering financial concepts. A product team asked the participants to group the concepts and name each group in their own words.
Findings:
Insights:
A content spec built from real research gives your team a shared source of truth, but a document sitting in a folder doesn't change anything on its own. The value comes from operationalizing it.
In Part 2, we cover how to operationalize a content spec in 2026 so it actually gets used. You'll get example prompt rules to help you craft guardrails for your AI tool to help you produce consistent draft content.
Great design decisions are grounded in evidence. But finding the right evidence isn't always easy when it's spread across multiple teams, usability tests, interviews, and surveys.
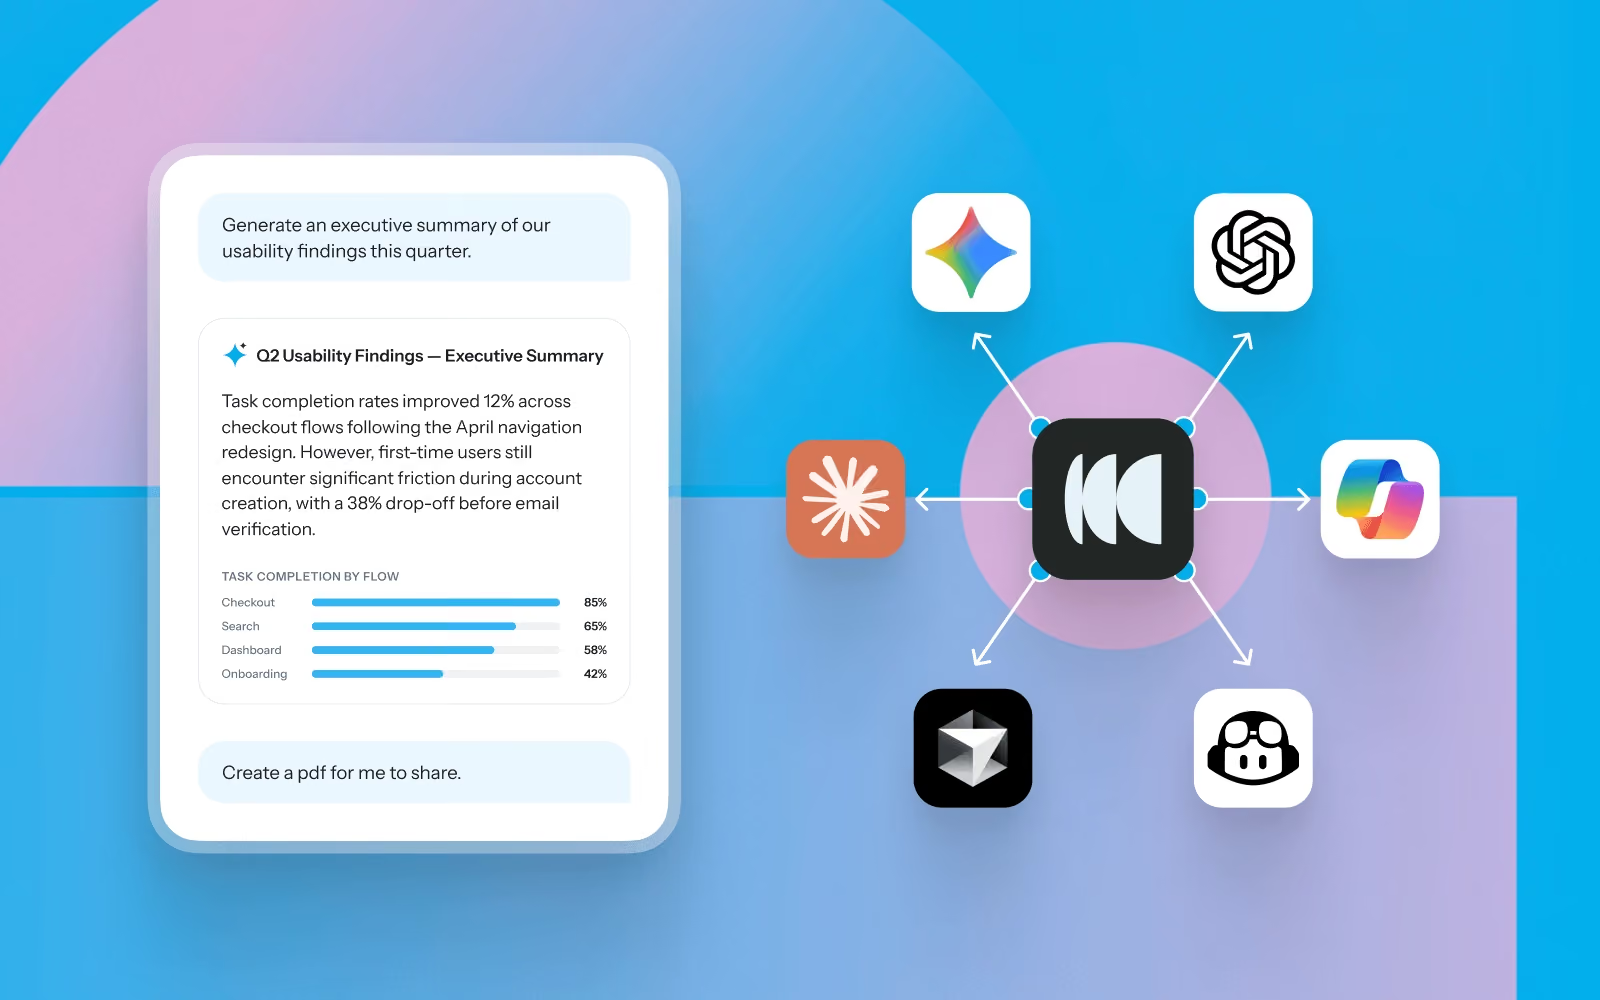
Instead of searching through reports or asking teammates if research already exists, Model Context Protocol (MCP) lets you ask questions about your research repository in natural language from AI tools like ChatGPT, Claude, Gemini, and Cursor.
Whether you're designing a new feature, iterating on a prototype, or preparing for a design review, MCP helps you quickly bring user evidence into your workflow.
Here are seven ways UX, product, and experience designers can use MCP throughout the design process.
Before opening Figma, understand what users are trying to accomplish, where they're struggling, and what your team has already learned.
Try asking:
Designer workflow
Before kicking off a redesign, ask MCP to summarize existing research. Use the findings to define design goals, identify constraints, and prioritize the problems worth solving before creating your first wireframe.
As ideas begin to take shape, use previous research to pressure-test your thinking. MCP can surface similar studies, recurring usability issues, and participant feedback that helps you refine concepts earlier.
Try asking:
Designer workflow
While exploring concepts in Figma, keep an AI assistant open alongside your design files. Ask questions as you work so previous research continuously informs design decisions instead of becoming something you review once at the beginning.
Design reviews often involve explaining why a particular solution was chosen. Use MCP to find supporting evidence from previous studies.
Try asking:
Designer workflow
Use participant quotes, findings, and usability observations directly in design specs, PRDs, or design review presentations to help stakeholders understand the reasoning behind your decisions.
Looking across multiple studies can reveal broader experience patterns. MCP can identify recurring pain points, emerging behaviours, and themes that may influence future design priorities.
Try asking:
Designer workflow
Before planning a larger redesign, review patterns across multiple past studies. These recurring themes often highlight systemic UX issues that individual projects miss.
Strong design presentations combine visual solutions with user evidence. Use MCP to generate summaries tailored to your audience.
Try asking:
Designer workflow
Generate concise summaries before design critiques, roadmap discussions, or leadership reviews, then pair them with your prototypes to show both the solution and the evidence behind it.
Designers frequently need to validate prototypes, but not every question requires a brand new study. MCP helps identify what has already been answered and where genuine knowledge gaps remain.
Try asking:
Designer workflow
Review previous findings before writing test tasks. Build studies that extend existing knowledge instead of repeating research your team has already completed.
Research is most valuable when it appears alongside the work you're already doing. With MCP, your repository becomes accessible from AI tools that support everyday design work.
Potential workflows
Instead of switching between repositories, documents, and reports, research becomes part of your design process.
The best design decisions aren't based on intuition alone; they're informed by a deep understanding of user behavior.
MCP makes it easier to bring research into everyday design work, helping you move from evidence to action faster. Whether you're exploring concepts, validating ideas, preparing stakeholder reviews, or planning usability tests, you can use MCP to help your research repository become an active design partner.
Book a demo or log into your account to get set up with MCP.
Imagine you've just joined a new research team. There is a vast amount of research in the repository. Hundreds of interviews, usability tests, surveys, and notes. Everyone tells you, "We've probably researched that already," but nobody knows when or where.
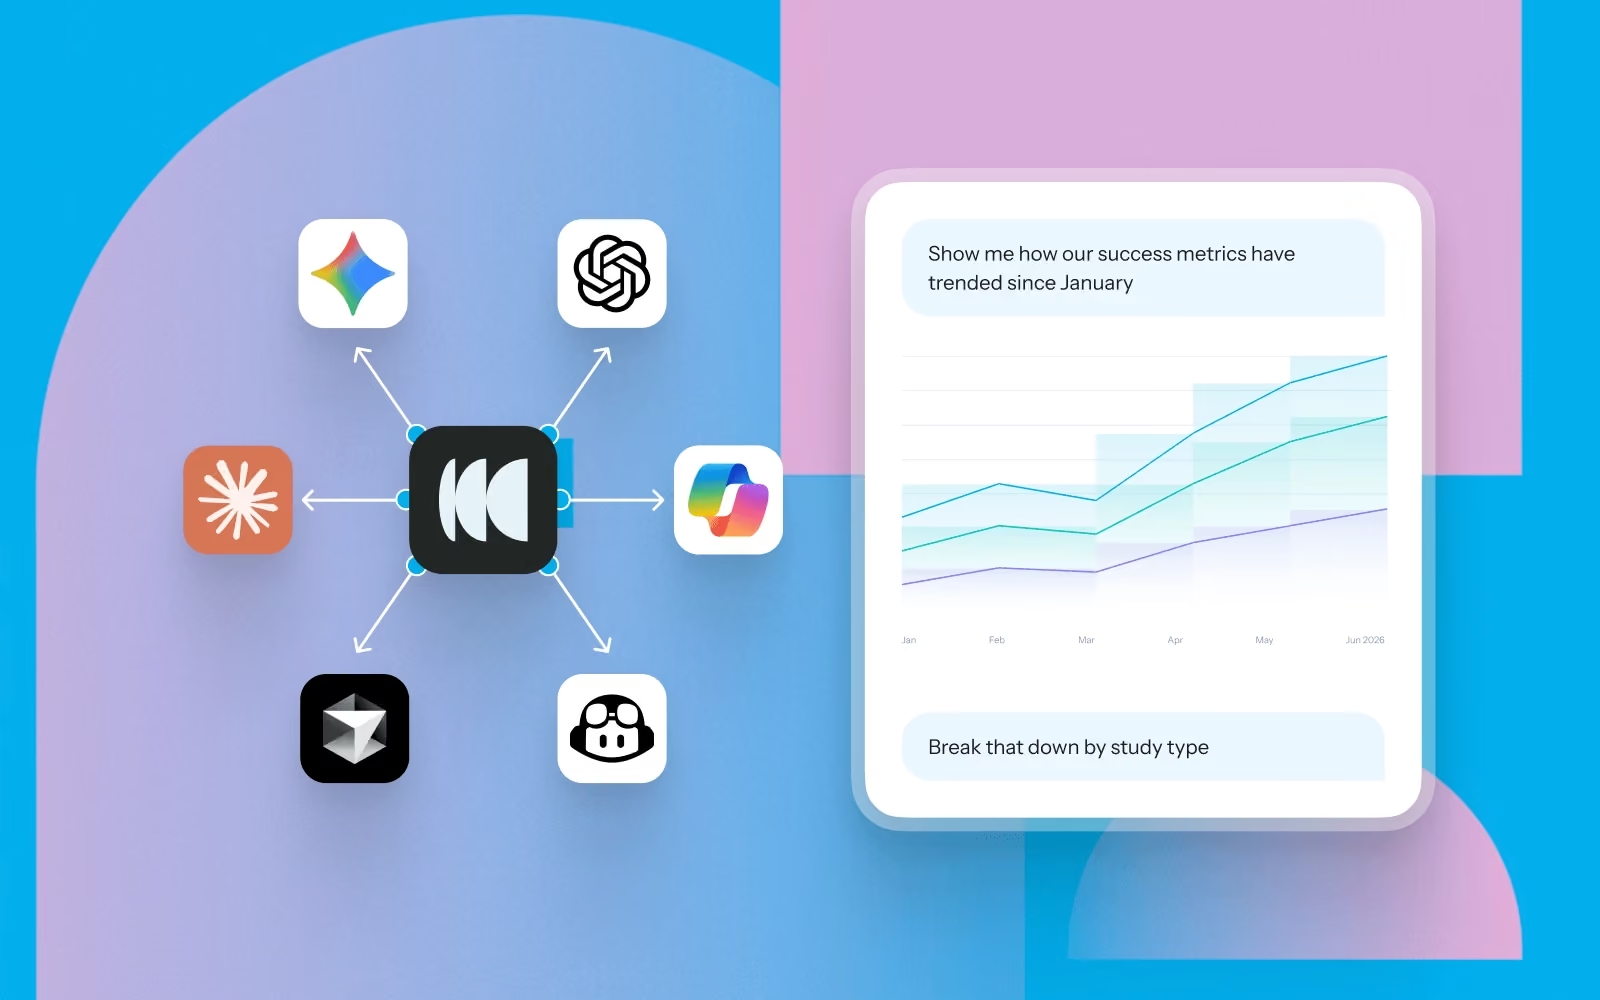
Instead of manually searching projects or asking around, Model Context Protocol (MCP) lets you ask questions about studies conducted in Optimal and instantly surface the evidence you need.
Here are practical ways UX researchers can use MCP with Optimal to understand past research, accelerate new studies, and uncover insights across their repository.
One of the best ways to use MCP is understanding what's already known. Instead of combing through different studies, ask MCP to summarize existing knowledge before planning your next study.
Try asking:
Before creating your next study, writing discussion guides or recruiting participants, check what questions have already been answered and which gaps remain.
MCP can help identify opportunities for follow-up research and prevent unnecessary duplication.
Try asking:
Whether you're preparing a presentation or writing a report, MCP can help to surface quotes, observations, participant metadata, and findings in seconds.
Try asking:
One of the easiest ways to waste research effort is repeating work that's already been done. Use MCP to explore what's already in your repository before creating a new study.
Try asking:
The biggest insights often emerge when you zoom out. Instead of reviewing studies individually, MCP can synthesize findings across projects to reveal recurring themes, behaviours, and pain points.
Try asking:
Research is most valuable when it's easy to share. Use MCP to turn large volumes of research into concise summaries or visualizations tailored to your audience.
Try asking:
Connect it with the AI tools and platforms your team already uses so research becomes part of everyday decision-making.
Examples include:
Like any AI assistant, the quality of the output depends on the context you provide. A few simple habits can make a big difference.
Rather than asking broad questions, explain what you're trying to achieve. Instead of Tell me about onboarding.
Try: I'm planning a usability study on onboarding. What problems have previous research uncovered that we should investigate further?
Large repositories can contain a wealth of research.
Specify:
For example: Summarize usability studies about checkout conducted during the past 12 months.
Sometimes you need detailed findings from a single study. Other times you're looking for patterns across dozens of studies. Tell MCP which perspective you want.
Treat MCP like a research partner rather than a search engine. For example:
Different audiences need different outputs.
Ask for:
MCP helps researchers spend less time hunting for information and more time generating insights that move products forward.
How will you use MCP with your Optimal data? Whether you're uncovering past insights, planning new studies, or connecting research with the rest of your tools, we'd love to hear how you're putting it to work.
You've invested time, budget, and effort into your research. But when you or someone else needs an answer, finding the right insight often means searching through projects, remembering which study covered the topic, and piecing insights together manually.
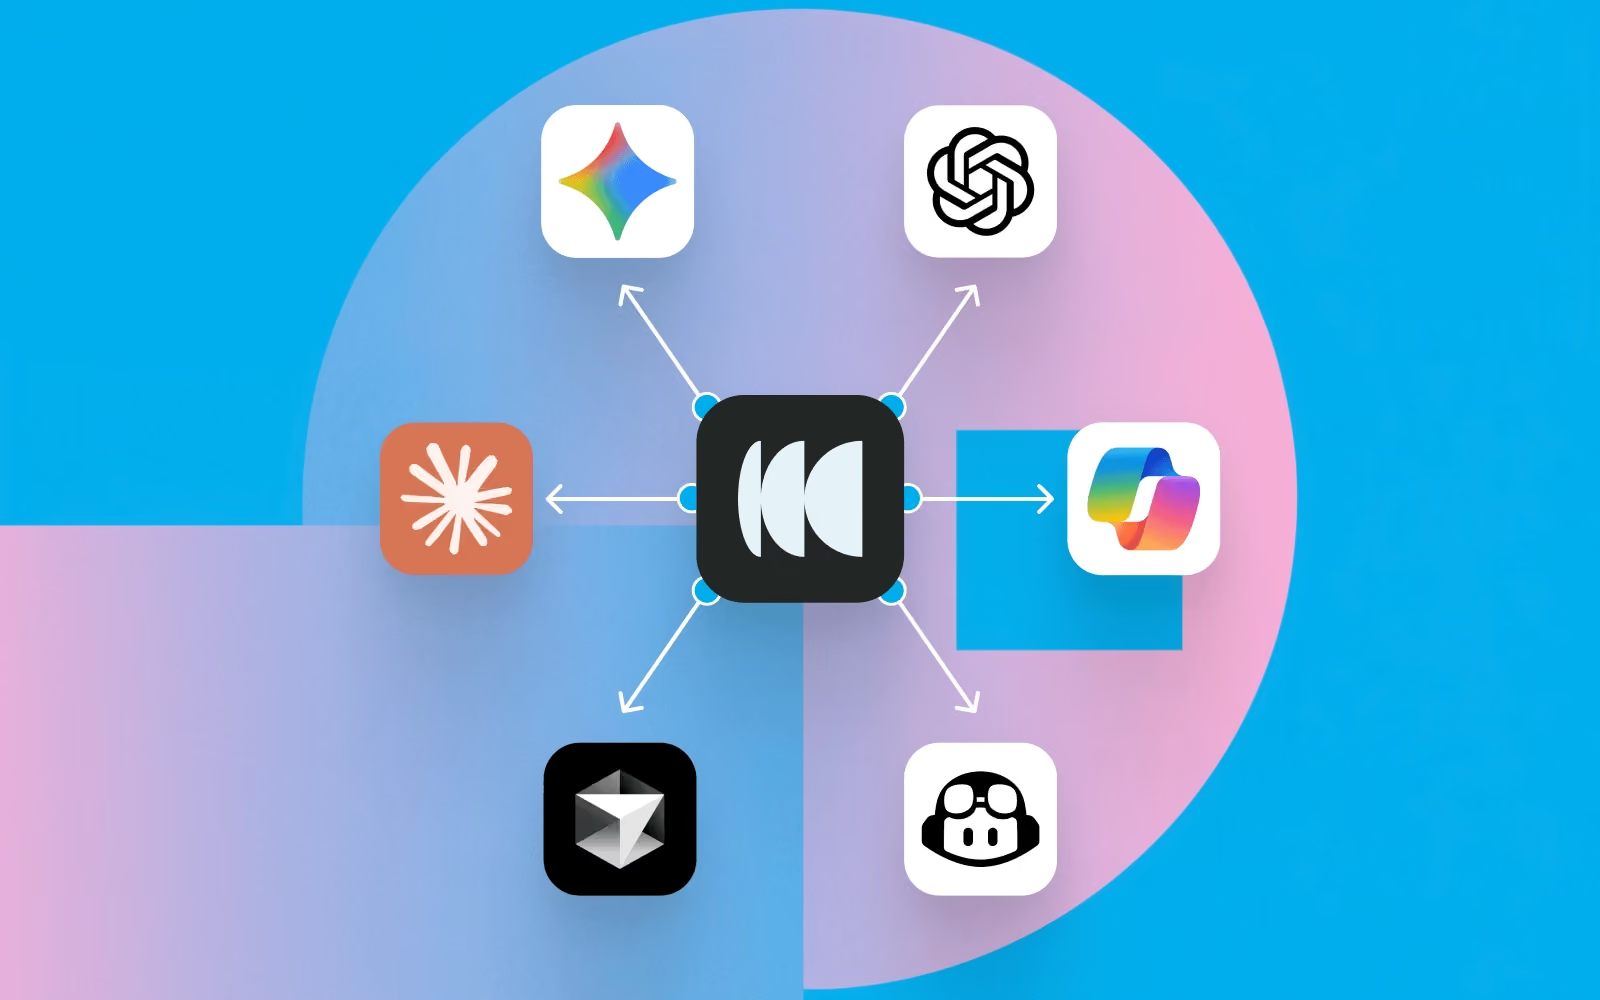
The Model Context Protocol (MCP) changes that. It connects AI tools like Claude, ChatGPT, and Cursor securely to your research in Optimal, so your team can ask questions in plain language and get insightful answers or connect your research to AI-powered workflows.
Below, we cover what MCP makes possible and how to connect it, so you finally get full value from the research you've already done and the repository you’ve built.
Once connected, MCP turns your repository into something you can ask directly, so all that past and current research is always instantly accessible. Here are 5 ways to use it:
Ask "What usability issues have we found recently?" or "What have we learned about onboarding?" Pull participant data and metadata e.g. “How many participants took this study on mobile?”
Ask "What research already exists on navigation?" so work isn't duplicated. You can also use MCP to pull quotes or review transcript data. “Surface participant quotes that highlight points of friction when navigating the homepage.”
Ask your AI tool to summarize the most important themes from research this quarter or format findings into charts or graphs.
Surface recurring participant pain points across multiple usability studies at once.
Connect Optimal research with the tools and workflows your team already integrated with your AI tools, like Zapier, Slack, Jira, and Notion.
Here are some practical examples of the kinds of questions teams can ask.
Across studies
Interviews
Prototype testing
Tree testing
Card sorting
First-click testing
Step 1: Sign in to your AI tool
Log into your preferred AI assistant (e.g. Claude, ChatGPT, or Cursor).
Step 2: Connect your Optimal account
Go to your AI tool’s settings and add a new MCP connection. Authenticate your Optimal account via OAuth 2.0 to securely grant access to your Optimal data.
Step 3: Start asking questions
Return to your AI tool and begin with simple, high-value questions grounded in your research.
Step 4: Embed it into your workflow
Use MCP regularly to explore insights, synthesize findings, and support decision-making.
The most effective MCP implementations are not standalone tools; they are embedded into daily decision-making.
If your AI tool is already connected to tools like Slack, Jira, Notion, or Zapier, you can use your Optimal research to trigger workflows, such as:
You've already done the hard part: running the studies and capturing the findings. The value is sitting in your repository. MCP helps you unlock what's already in your repository, making it easy to discover, reuse, and turn into action.
Whether a study was conducted yesterday or months ago, you’ll be able to gather insights with MCP to make faster, more informed decisions today.
.avif)
Nearly 18 years ago, Optimal helped define what UX research could be, pioneering practices and tools that would become industry standard and change how teams worldwide better understand their users. As the industry has evolved, so has Optimal, expanding the platform, advancing participant recruitment, and building Optimal Intelligence AI to accelerate insight to action.
Now, we’re at the edge of another major shift. With the launch of the Model Context Protocol (MCP), we’re entering a new realm, moving from traditional research workflows to AI-powered intelligence.
Research data is one of the most valuable assets in any organization, but until now, it has been scattered across studies and reports, time-consuming to search and synthesize, and different to search or reuse. MCP now changes that for research teams.
Model Context Protocol (MCP) enables you to connect your Optimal research directly to AI tools, like ChatGPT, Claude, or Cursor, to explore and analyze your data seamlessly. Insights can go beyond data downloads, dashboards, or static reports. Access your insights and explore further with natural conversation.
Get instant insights for questions like:
With MCP-connected tools, you can:
The evolution is clear.
We started by helping teams understand users through early UX research methods.
We helped formalize how research is conducted, analyzed, and shared.
And now, with MCP in Optimal, we’re helping teams move beyond analysis altogether toward conversational, AI-driven research intelligence.
Log in to Optimal, connect with your AI tools, and get the most value from your research or book a demo to start building your research repository with Optimal.

