Summary: A detailed UX research plan helps you keep your overarching research goals in mind as you work through the logistics of a research project.
There’s nothing quite like the feeling of sitting down to interview one of your users, steering the conversation in interesting directions and taking note of valuable comments and insights. But, as every researcher knows, it’s also easy to get carried away. Sometimes, the very process of user research can be so engrossing that you forget the reason you’re there in the first place, or unexpected things that come up that can force you to change course or focus.
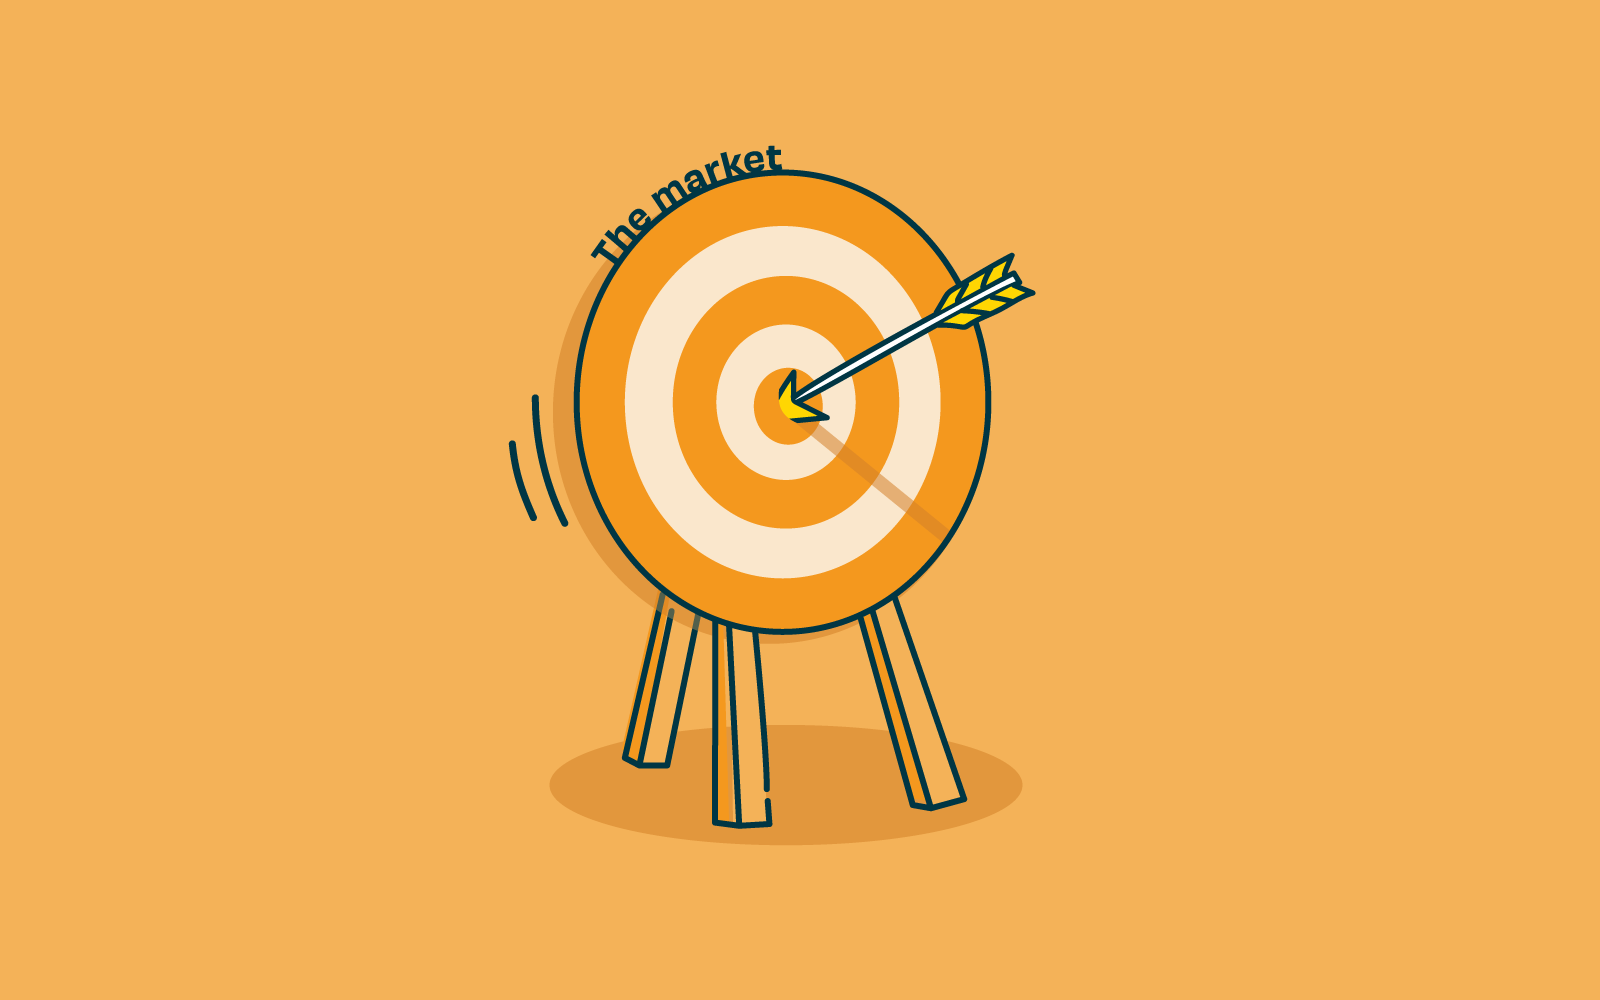
This is where a UX research plan comes into play. Taking the time to set up a detailed overview of your high-level research goals, team, budget and timeframe will give your research the best chance of succeeding. It's also a good tool for fostering alignment - it can make sure everyone working on the project is clear on the objectives and timeframes. Over the course of your project, you can refer back to your plan – a single source of truth. After all, as Benjamin Franklin famously said: “By failing to prepare, you are preparing to fail”.
In this article, we’re going to take a look at the best way to put together a research plan.
Your research recipe for success
Any project needs a plan to be successful, and user research is no different. As we pointed out above, a solid plan will help to keep you focused and on track during your research – something that can understandably become quite tricky as you dive further down the research rabbit hole, pursuing interesting conversations during user interviews and running usability tests. Thought of another way, it’s really about accountability. Even if your initial goal is something quite broad like “find out what’s wrong with our website”, it’s important to have a plan that will help you to identify when you’ve actually discovered what’s wrong.
So what does a UX research plan look like? It’s basically a document that outlines the where, why, who, how and what of your research project.
It’s time to create your research plan! Here’s everything you need to consider when putting this plan together.
Make a list of your stakeholders
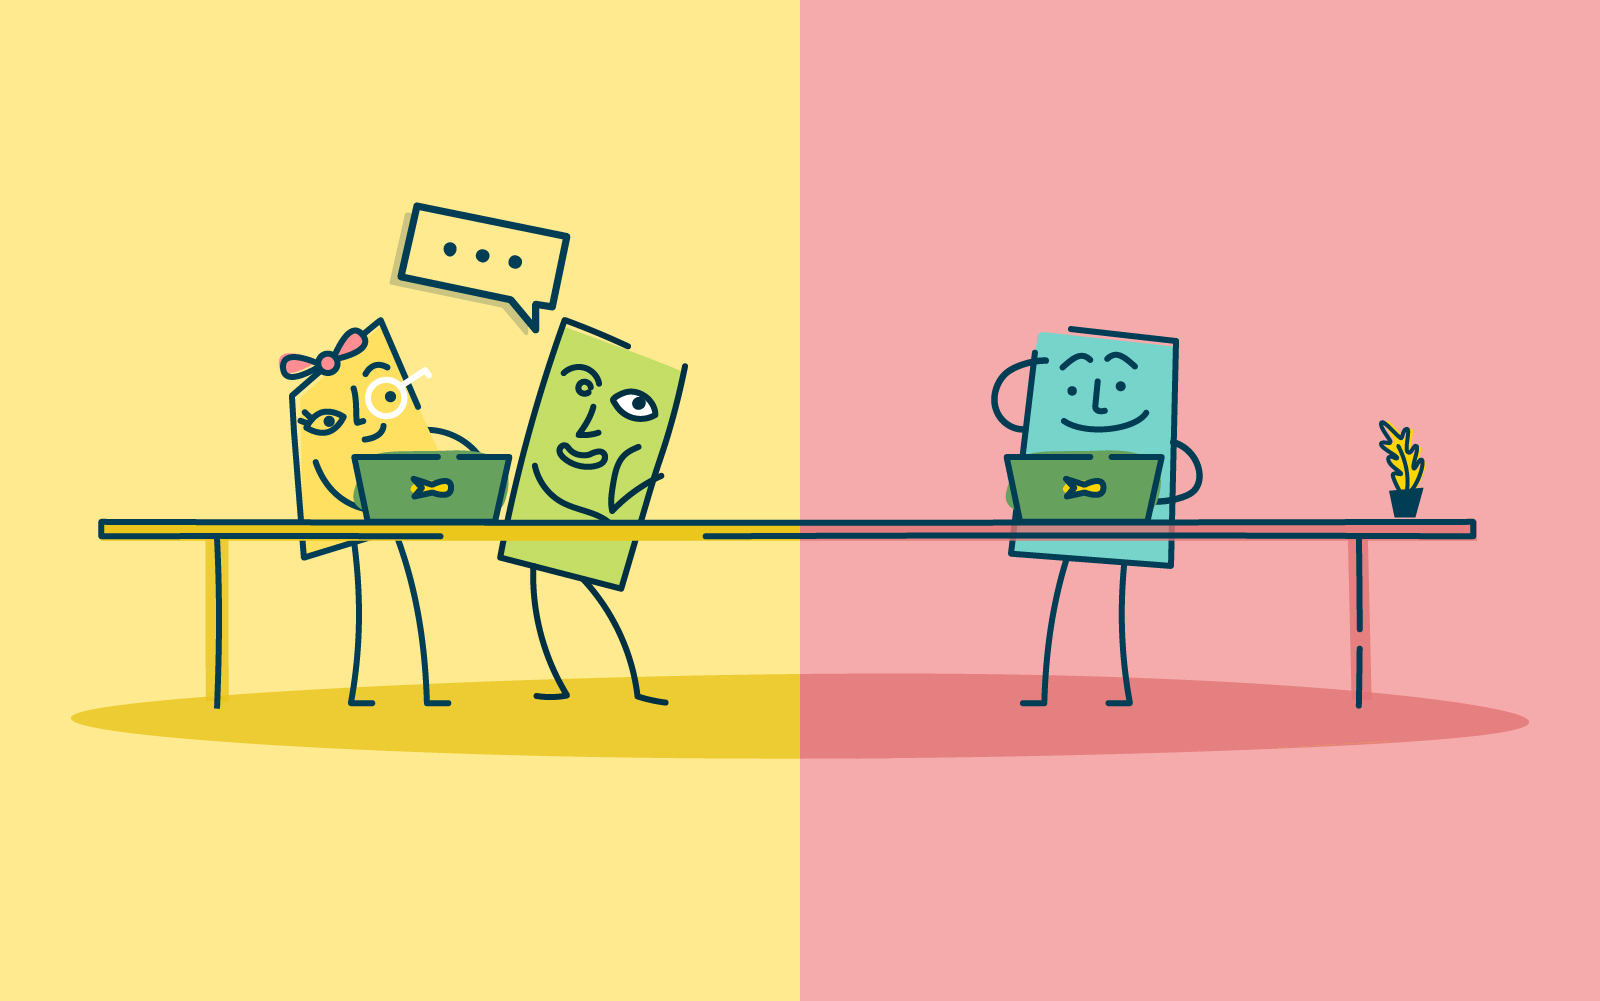
The first thing you need to do is work out who the stakeholders are on your project. These are the people who have a stake in your research and stand to benefit from the results. In those instances where you’ve been directed to carry out a piece of research you’ll likely know who these people are, but sometimes it can be a little tricky. Stakeholders could be C-level executives, your customer support team, sales people or product teams. If you’re working in an agency or you’re freelancing, these could be your clients.
Make a list of everyone you think needs to be consulted and then start setting up catch-up sessions to get their input. Having a list of stakeholders also makes it easy to deliver insights back to these people at the end of your research project, as well as identify any possible avenues for further research. This also helps you identify who to involve in your research (not just report findings back to).
Action: Make a list of all of your stakeholders.
Write your research questions
Before we get into timeframes and budgets you first need to determine your research questions, also known as your research objectives. These are the ‘why’ of your research. Why are you carrying out this research? What do you hope to achieve by doing all of this work? Your objectives should be informed by discussions with your stakeholders, as well as any other previous learnings you can uncover. Think of past customer support discussions and sales conversations with potential customers.
Here are a few examples of basic research questions to get you thinking. These questions should be actionable and specific, like the examples we’ve listed here:
- “How do people currently use the wishlist feature on our website?”
- “How do our current customers go about tracking their orders?”
- “How do people make a decision on which power company to use?”
- “What actions do our customers take when they’re thinking about buying a new TV?”
A good research question should be actionable in the sense that you can identify a clear way to attempt to answer it, and specific in that you’ll know when you’ve found the answer you’re looking for. It's also important to keep in mind that your research questions are not the questions you ask during your research sessions - they should be broad enough that they allow you to formulate a list of tasks or questions to help understand the problem space.
Action: Create a list of possible research questions, then prioritize them after speaking with stakeholders.
What is your budget?
Your budget will play a role in how you conduct your research, and possibly the amount of data you're able to gather.
Having a large budget will give you flexibility. You’ll be able to attract large numbers of participants, either by running paid recruitment campaigns on social media or using a dedicated participant recruitment service. A larger budget helps you target more people, but also target more specific people through dedicated participant services as well as recruitment agencies.
Note that more money doesn't always equal better access to tools - e.g. if I work for a company that is super strict on security, I might not be able to use any tools at all. But it does make it easier to choose appropriate methods and that allow you to deliver quality insights. E.g. a big budget might allow you to travel, or do more in-person research which is otherwise quite expensive.
With a small budget, you’ll have to think carefully about how you’ll reward participants, as well as the number of participants you can test. You may also find that your budget limits the tools you can use for your testing. That said, you shouldn’t let your budget dictate your research. You just have to get creative!
Action: Work out what the budget is for your research project. It’s also good to map out several cheaper alternatives that you can pursue if required.
How long will your project take?
How long do you think your user research project will take? This is a necessary consideration, especially if you’ve got people who are expecting to see the results of your research. For example, your organization’s marketing team may be waiting for some of your exploratory research in order to build customer personas. Or, a product team may be waiting to see the results of your first-click test before developing a new signup page on your website.
It’s true that qualitative research often doesn’t have a clear end in the way that quantitative research does, for example as you identify new things to test and research. In this case, you may want to break up your research into different sub-projects and attach deadlines to each of them.
Action: Figure out how long your research project is likely to take. If you’re mixing qualitative and quantitative research, split your project timeframe into sub-projects to make assigning deadlines easier.
Understanding participant recruitment
Who you recruit for your research comes from your research questions. Who can best give you the answers you need? While you can often find participants by working with your customer support, sales and marketing teams, certain research questions may require you to look further afield.
The methods you use to carry out your research will also have a part to play in your participants, specifically in terms of the numbers required. For qualitative research methods like interviews and usability tests, you may find you’re able to gather enough useful data after speaking with 5 people. For quantitative methods like card sorts and tree tests, it’s best to have at least 30 participants. You can read more about participant numbers in this Nielsen Norman article.
At this stage of the research plan process, you’ll also want to write some screening questions. These are what you’ll use to identify potential participants by asking about their characteristics and experience.
Action: Define the participants you’ll need to include in your research project, and where you plan to source them. This may require going outside of your existing user base.
Which research methods will you use?
The research methods you use should be informed by your research questions. Some questions are best answered by quantitative research methods like surveys or A/B tests, with others by qualitative methods like contextual inquiries, user interviews and usability tests. You’ll also find that some questions are best answered by multiple methods, in what’s known as mixed methods research.
If you’re not sure which method to use, carefully consider your question. If we go back to one of our earlier research question examples: “How do our current customers go about tracking their orders?”, we’d want to test the navigation pathways.
If you’re not sure which method to use, it helps to carefully consider your research question. Let’s use one of our earlier examples: “Is it easy for users to check their order history in our iPhone app?” as en example. In this case, because we want to see how users move through our app, we need a method that’s suited to testing navigation pathways – like tree testing.
For the question: “What actions do our customers take when they’re thinking about buying a new TV?”, we’d want to take a different approach. Because this is more of an exploratory question, we’re probably best to carry out a round of user interviews and ask questions about their process for buying a TV.
Action: Before diving in and setting up a card sort, consider which method is best suited to answer your research question.
Develop your research protocol
A protocol is essentially a script for your user research. For the most part, it’s a list of the tasks and questions you want to cover in your in-person sessions. But, it doesn’t apply to all research types. For example, for a tree test, you might write your tasks, but this isn't really a script or protocol.
Writing your protocol should start with actually thinking about what these questions will be and getting feedback on them, as well as:
- The tasks you want your participants to do (usability testing)
- How much time you’ve set aside for the session
- A script or description that you can use for every session
- Your process for recording the interviews, including how you’ll look after participant data.
Action: This is essentially a research plan within a research plan – it’s what you’d take to every session.
Happy researching!
Related UX plan reading